Overview
We recommend using Ubuntu desktop, an open-source, intuitive and easy-to-use distribution of the Linux Operating System. Ubuntu Desktop 20.04 uses a knowledge-worker-friendly desktop GNOME desktop environment, which allows managing workspaces (virtual desktops) and windows, filesystem navigation, keyboard shortcuts, and searching for applications and files. Furthermore, installing and managing applications is convenient with a package manager. Ubuntu is also a common operating system for running servers, IoT devices, and cloud software. The rest of this section covers installing Ubuntu, configuring settings, and how to use it effectively.
Installing Ubuntu
Installing a new operating system may feel intimidating or even scary. However, the creators of Ubuntu have made the installation process simple and require minimal technical knowledge. We can try Ubuntu and install it using a startup disk. We can create a startup disk to a USB drive by following the instructions on Create a bootable USB stick on Windows or MacOS. If you are already using Ubuntu and want to upgrade your distribution, you can use the tutorial for Ubuntu. Then, we can follow the instructions in the Install Ubuntu Desktop tutorial from the Boot from USB flash drive section.
Before installing Ubuntu, you should back up important files from your hard drives. The installation process will format the hard drive in which it installs Ubuntu, wiping all data on it.
We can boot Ubuntu from the startup disk on the bootable USB stick, by inserting it into the computer and restarting it. The startup disk should automatically start Ubuntu. If not, open the boot menu by pressing F12, F2, or ESC (depending on your machine) on system startup, and then select the startup disk as the disk for booting your operating system.
Once Ubuntu has booted from the startup disk, it opens an install menu. By following the instructions, the installation is straightforward. If you are unsure, you can follow a video walkthrough of the installation process by searching with the “Install Ubuntu 20.04” query on a search engine and following it on your smartphone or tablet while installing Ubuntu. For example, Ubuntu 20.04 Full Installation Walkthrough by LearnLinuxTV is helpful.
Terminal
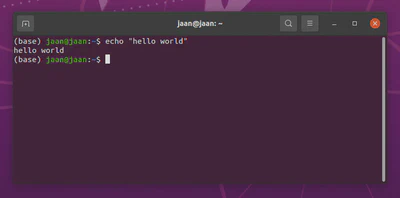
We can access the command line using the Terminal application. We can open the terminal with the Ctrl + Alt + T shortcut and close it using Ctrl + D. In the terminal, we can search for previous commands from the history using Ctrl + R and clear the terminal using Ctrl + L.
Mounting Disks on Startup
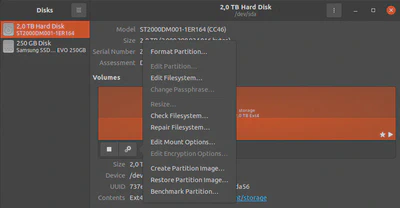
If our computer has more than one hard disk, we can use Disks to format and automount them at startup. Select your hard disk from Disks and open the Additional partition options menu. If you have never used the hard disk or want to wipe it clean, you should format the disk to Ext4 filesystem format. Then, we should give the filesystem a human-readable name by setting the label parameter in Edit Filesystem to match the purpose of the drive, such as storage. We can automount the hard disk on startup by navigating to Edit Mount Options and toggling on the Mount at system startup option. We should also set the Indentify As parameter to LABEL=storage, making the disk available at /mnt/storage/.
User Directories
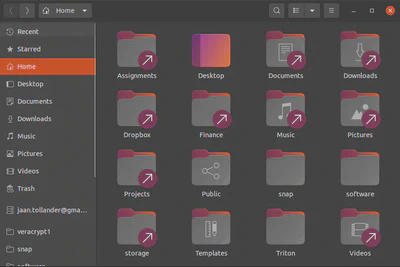
By default, Ubuntu places the user directories such as Documents, Downloads, Music, Pictures, and Videos on the same disk as the operating system, which can be undesirable. We can change the user directory locations to a different hard disk by creating symbolic links from the hard disk to the home directory. The tilde symbol ~ denotes the path to the home directory in the command line.
First, remove the chosen default directory, such as Documents, from your home directory.
rm -r ~/Documents
Then, create the default directory to your hard disk mount path.
mkdir /mnt/storage/Documents
Finally, create a symbolic links from the hard disk default directory location to your home directory.
ln -s /mnt/storage/Documents ~/
Repeat the process for the other default directories. Using symbolic links, we do not have to change the default settings on ~/.config/.user-dirs.dirs configuration file.
Graphics Drivers
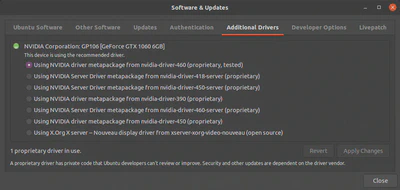
We can select suitable proprietary graphics drivers for our graphics card from Software & Updates > Additional Drivers to improve our display graphics.
Sound
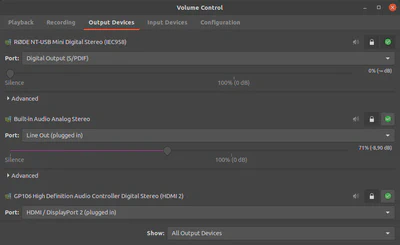
I recommend using PulseAudio Volume Control (Pavucontrol) to control your audio settings such as Input and Output devices. Pavucontrol’s graphical user interface provides you with more granular control over your sound settings than the Ubuntu default sound settings. You can install Pavucontrol using the command line.
sudo apt install pavucontrol
For example, I used Pavucontrol to configure my USB microphone to work correctly with audio from Line Out.
Search and Keyboard Shortcuts
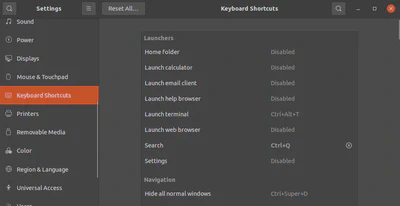
We can use search and keyboard shortcuts to open applications and find files without wasting time navigating through menus. You can see all keyboard shortcuts from Settings > Keyboard Shortcuts. I recommend setting the search shortcut to Ctrl + Q.
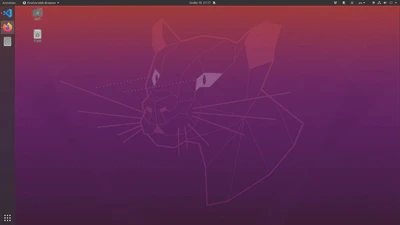
Dark Theme and Focus
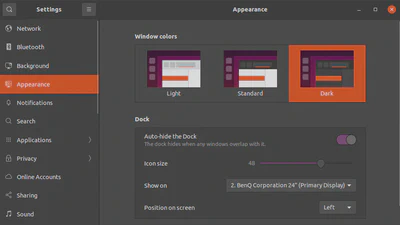
We can enable the Dark theme from Settings > Appearance. The dark theme reduces eye strain, especially in the evenings. Also, we should enable the Auto-hide Dock option, which hides to Dock when windows overlap with the Dock.
I recommend removing all favorites from the Dock. We should use search to find applications and files instead of navigating menus. If you don’t remember the name of some application, you can always open the Show Applications menu in the Dock to see all of your applications.
Additionally, we should reduce mental clutter by hiding unnecessary information from our screens to improve our focus on tasks when using a computer. For example, we can use the full-screen mode by pressing F11, which maximizes a window and hides menus and other elements that could distract us.
Night Light
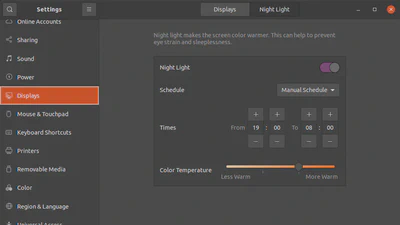
We can enable the Night Light from Settings > Displays > Night Light. It decreases the screen’s adverse effects on sleep by dynamically changing the color spectrum of the screen according to a schedule. You can set the schedule to manual and times according to your preferences. I have set my Night Light from 19.00 to 8.00.
Online Accounts
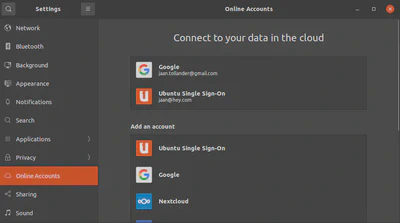
We can connect Google account from Settings > Online Accounts to synchronize our Google calendar and drive on our desktop.
Livepatch
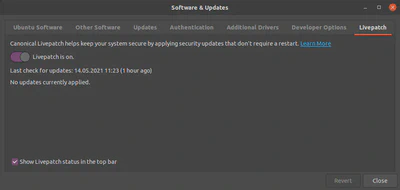
We can enable Livepatch from Software & Updates > Livepatch to automatically install updates that do not require a restart. Livepatch requires an Ubuntu account.